DIY Throw Pillows: Creative Ideas to Easily Revamp Your Living Room Decor
“DIY Throw Pillows: Easy, Stylish, and Budget-Friendly!”
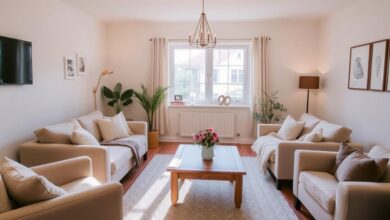
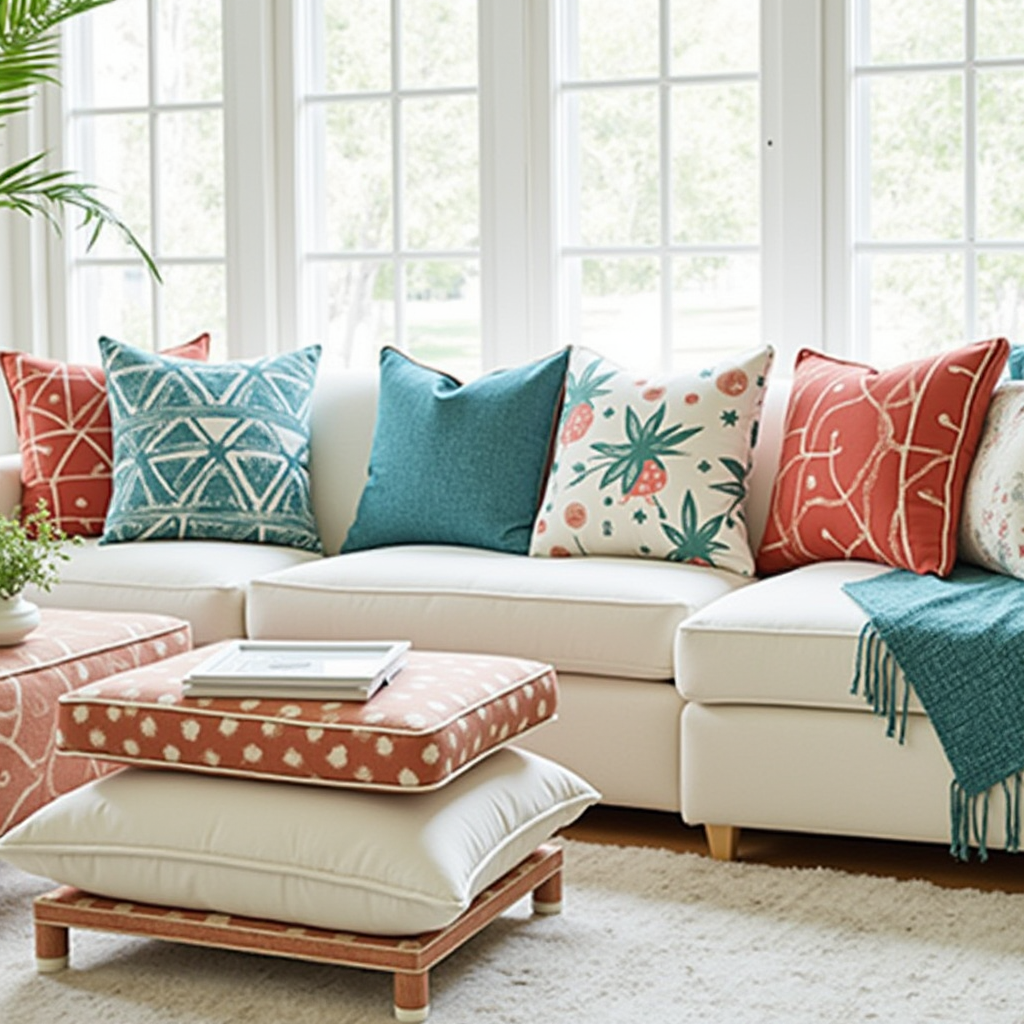
I love decorator pillows! They have the power to completely transform a room’s mood, but they can be so expensive. So why not make your own and get exactly the style and look you want?
You don’t need advanced sewing skills—if you can sew a straight line, you’re ready to DIY your throw pillows and refresh your living space. This is one of the easiest sewing projects, and in just an hour or two, you can give your room a whole new feel. No need to shop for the perfect pillow when you can create one yourself!
A handmade pillow is a great way to bring new life to your furniture. Here’s a simple guide to making your throw pillows at home.
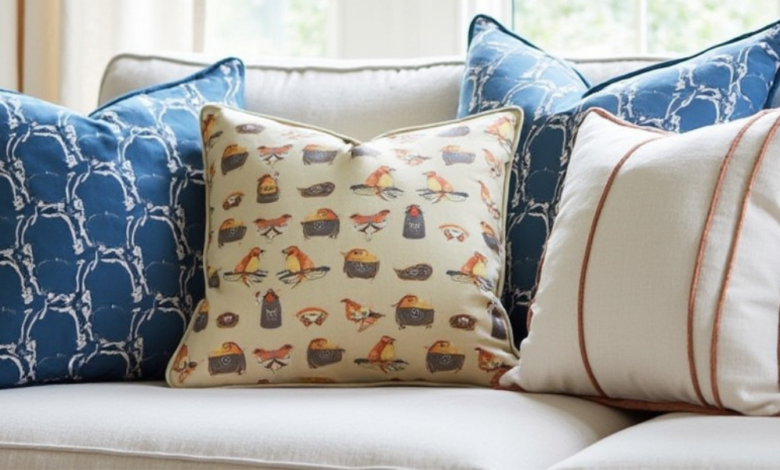
I found this beautiful bird-patterned fabric at a local store, and it had just the right colors to complement my home. It also added a fun and lively touch to the room. I already had some checkered upholstery fabric in my stash, which I thought would be perfect for piping. I’ve seen some high-end pillows with oversized piping, and I loved the look—so I decided to try it with the bird fabric.
This is a quick and easy sewing project. In just a few hours, you can brighten up any space with stylish, handmade pillows!
Table of Contents
DIY Decorative Pillows: A Personal Touch to Refresh Your Home Decor
- Sewing tools: sewing machine, iron, ironing board, and a tool to turn corners.
Steps to Make a Decorative Pillow:
- Gather Materials: Collect all necessary materials, including fabric, stuffing, and decorative trim if used.
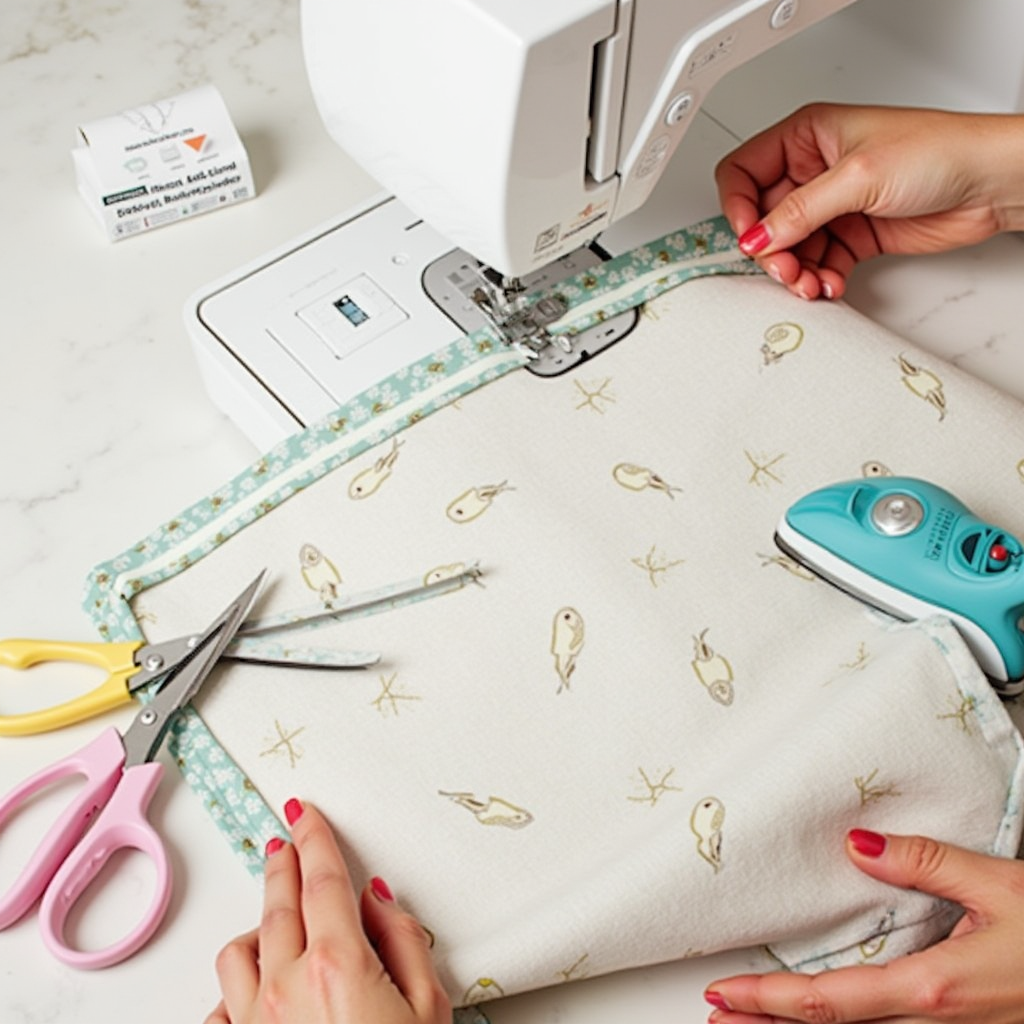
- Prepare the Trim (If Using): If you want to add decorative trim, you can create it using a different fabric. Measure all four sides of the pillow and add about 6 inches to make it easier to work around the corners.
- Cut the Fabric: Cut two pieces of fabric, making sure they are half an inch larger on each side than the pillow insert. This allows for proper seam allowances.
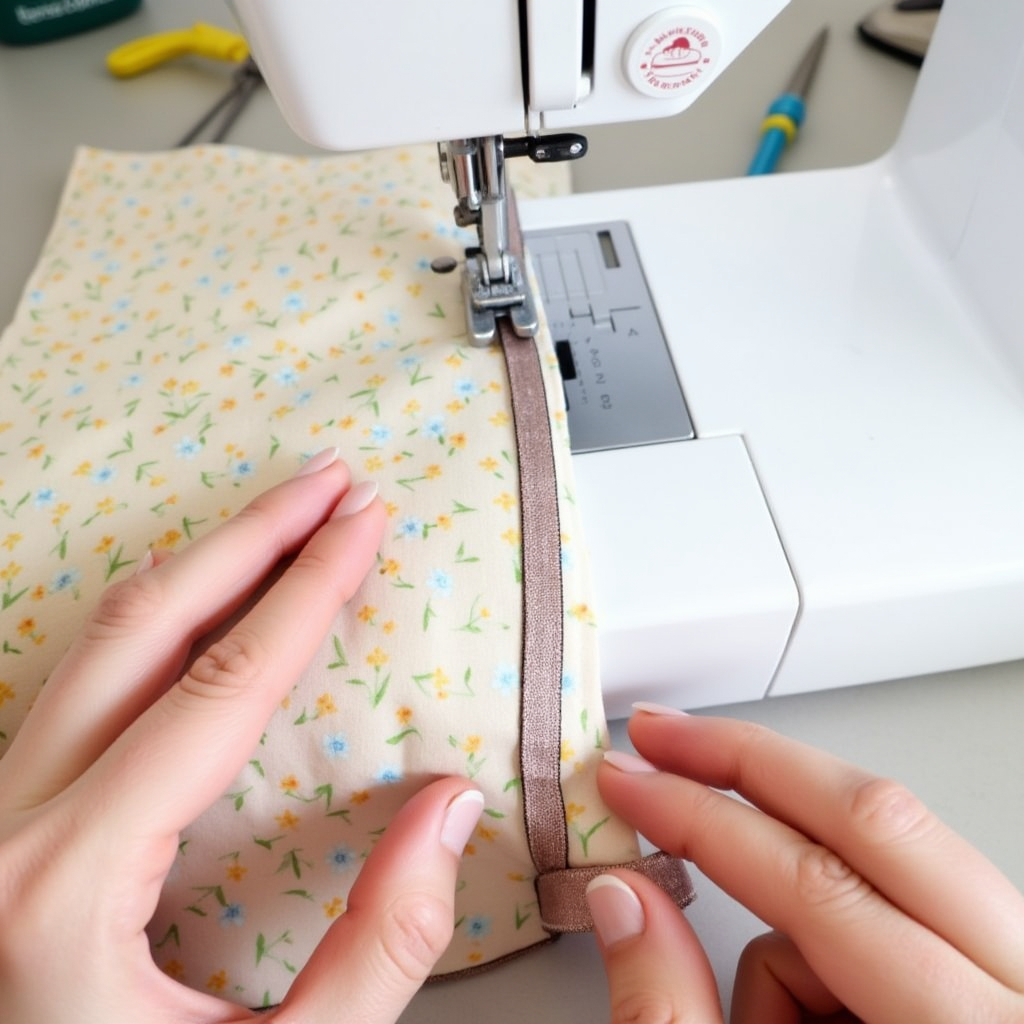
- Attach the trim (If using): If using trim, sew it onto the front fabric piece first. This helps secure it around the corners without pulling too tightly.
- Sew the Pieces Together: Place the back fabric piece over the front piece with the right sides facing each other. If using trim, use a zipper foot on your sewing machine to sew close to it.
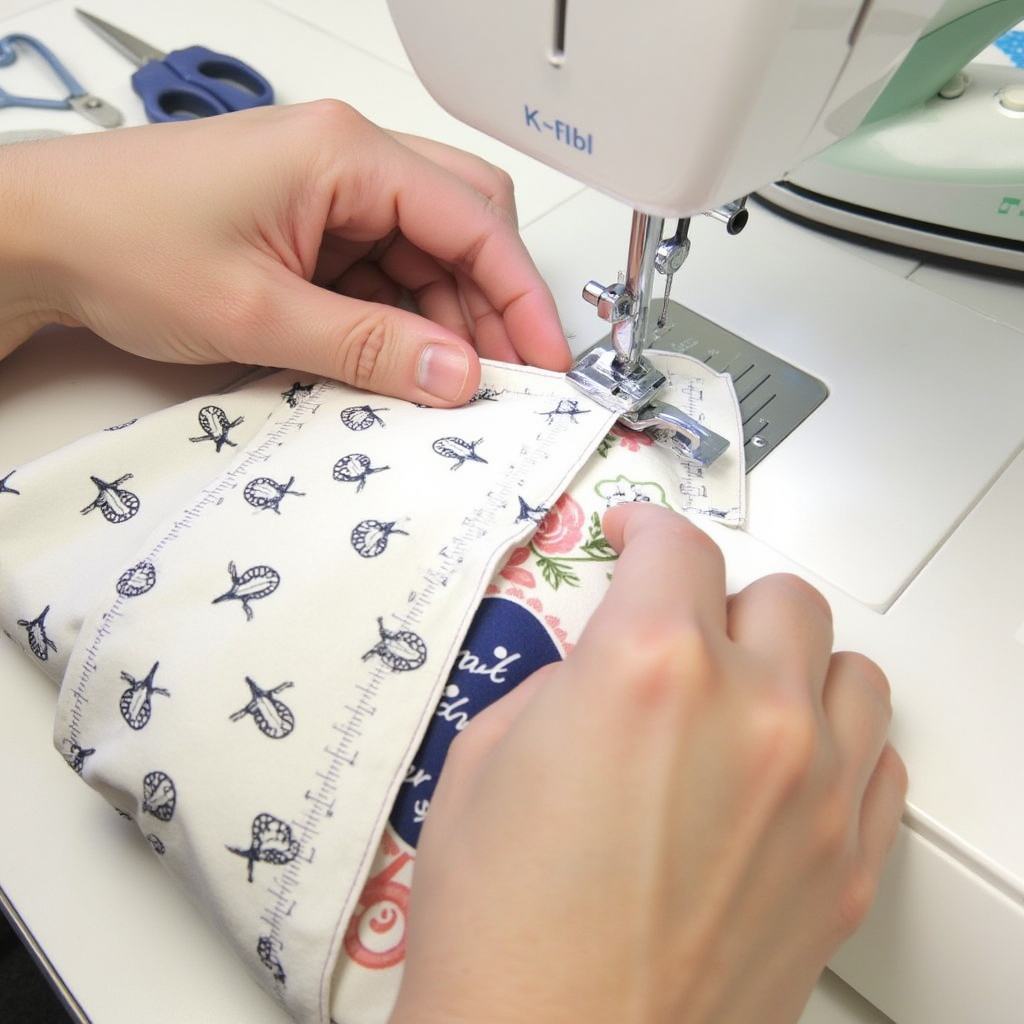
- Sew Around the Edges: Start sewing from one of the bottom corners and stitch around all edges, leaving a 6-inch opening at the bottom for stuffing.
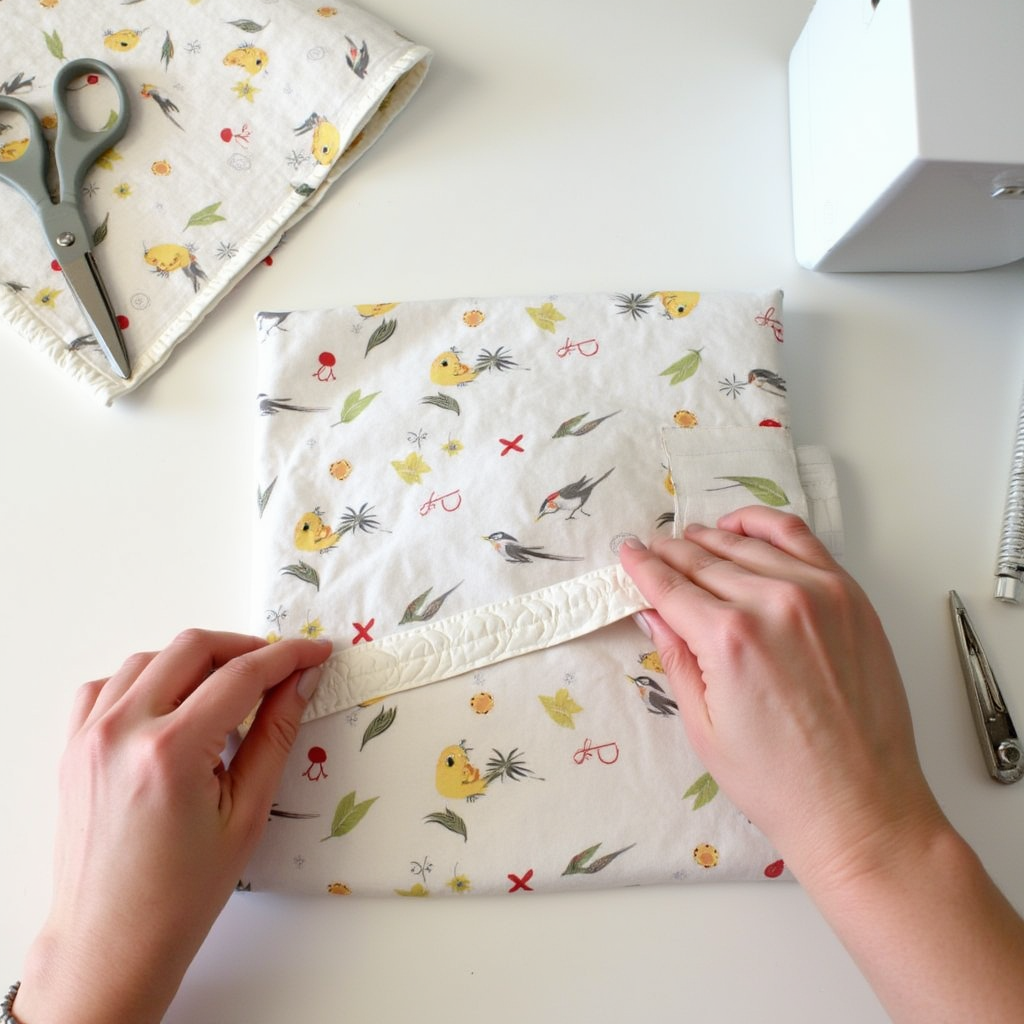
- Trim the Corners: Before turning the pillow cover right side out, trim any excess fabric from the corners to reduce bulk.
- Turn the Fabric Right Side Out: Flip the pillow cover so the outer fabric is facing outward, and press the corners out neatly.
- Insert the Stuffing: Place the pillow insert inside the cover, then sew the opening shut by hand or using a sewing machine.
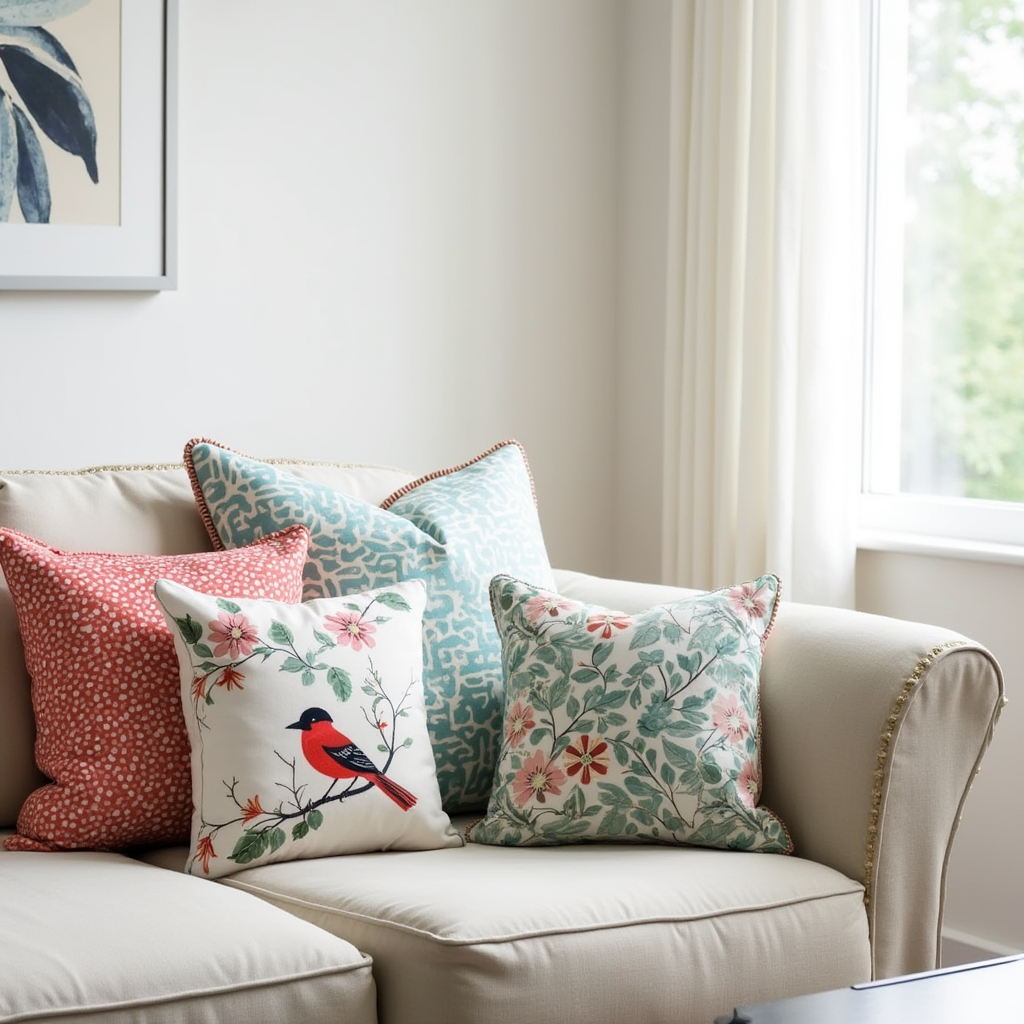
Final Result: In less than an hour, you can have a beautiful and unique decorative pillow that adds a personal touch to your home decor. You can customize the colors and designs to match your room’s ambiance, whether you’re aiming for classic elegance or a vibrant modern look. Are you looking for an easy and creative way to give your home decor a fresh update? Making your decorative pillows is the perfect solution! Not only is it a simple and enjoyable project that can be completed in a short time, but it also allows you to have full control over the colors and designs to match your taste.
Why Make Your Pillows?
Decorative pillows are an essential element in any room, adding a unique and stylish touch. However, store-bought pillows can be expensive, especially if you’re searching for unique designs or specific colors. This is where DIY pillow-making comes in as an affordable and personalized way to get the exact pillows you want.
This project is perfect for beginners who have little to no sewing experience. All you need is the ability to sew a straight line using a sewing machine and a few basic materials.
Materials and Tools Needed:
To make your decorative pillow, you will need:
- Fabric for the pillow cover: Choose the size of the pillow you want to make (e.g., 12 × 16 inches). Then, cut two pieces of fabric slightly larger (e.g., 13 × 17 inches) to allow for seam allowances.
- Pillow stuffing: You can use pre-made pillow inserts or make your stuffing.
- Sewing thread is a thin, durable strand of fiber or yarn used to stitch fabrics together. It comes in various materials—such as cotton, polyester, and silk—and in many colors and thicknesses. The choice of thread can affect the strength and appearance of your seams, making it essential to select one that matches both your fabric and the specific needs of your project, like in DIY throw pillows where a neat, strong stitch ensures a professional finish.
- Decorative trim (optional): You can buy pre-made trims or create your own using different fabrics.
Additional Ideas:
- Mix and Match Fabrics: Try combining patterned and solid fabrics for an eye-catching contrast.
- Decorative Additions: Add extra embellishments like buttons or embroidery to enhance the pillow’s design.
- Revamp Old Furniture: Use DIY pillows to refresh the look of an old sofa or chair.
Ultimately, making your decorative pillows is more than just a sewing project; it’s an opportunity to show off your creativity and skill.